I’m going to layout and explain the basic process I go through for making my Chief’s Charge Books in order to give you an idea of everything involved. The first step of course is to gather the basic raw materials and tools that will be used in the first few steps. Raw materials include veg-tanned cowhide for the exterior cover, pigskin (shown in the picture) or deer-tanned cowhide for the lining, bag stiffener to give a bit more body to the front and back covers, and one inch wide veg-tanned strap leather to make the pieces that hold the material on the scrapbooking posts and for the straps (if requested) that hold the Charge Book closed. Then there’s the hardware that will be required for the Charge Book. In this case, we have the scrapbooking posts built up to the required height. The bottom two sections are secured with blue Loctite. Then there are the two hook and latches that are used as closures for the binder. Then we have copper rivets. Six of them are used to secure the scrapbooking posts to the main body of the Charge Book, and the remaining four are used to secure the two straps. Finally, in this collection there is a Sam Brown button stud that will be used to close a “belt” around a Charge Book. Tools used in the initial stages of preparation include an awl for marking the leather and a variety of rulers, squares, and knives that are used in laying out and cutting the basic materials. The wing dividers and awl are used to layout the stitching line and borders for stamping the rope around the Charge Book. The punches and edgers are used to prepare the strap material.
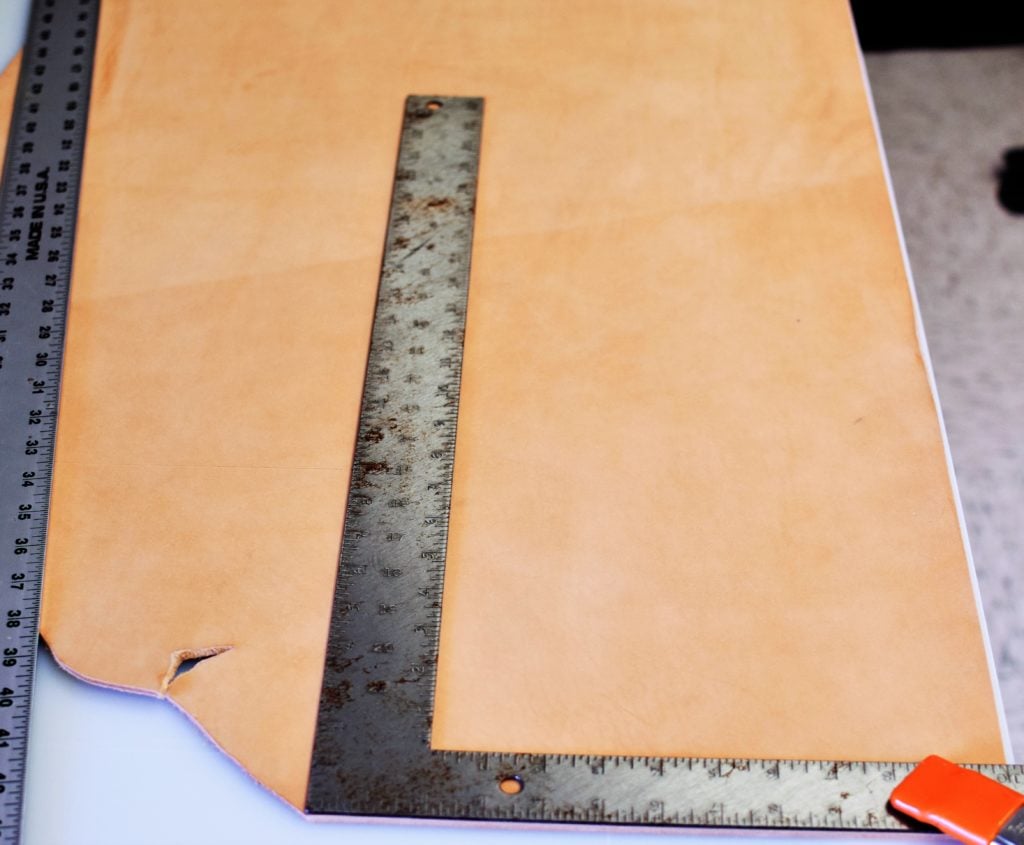
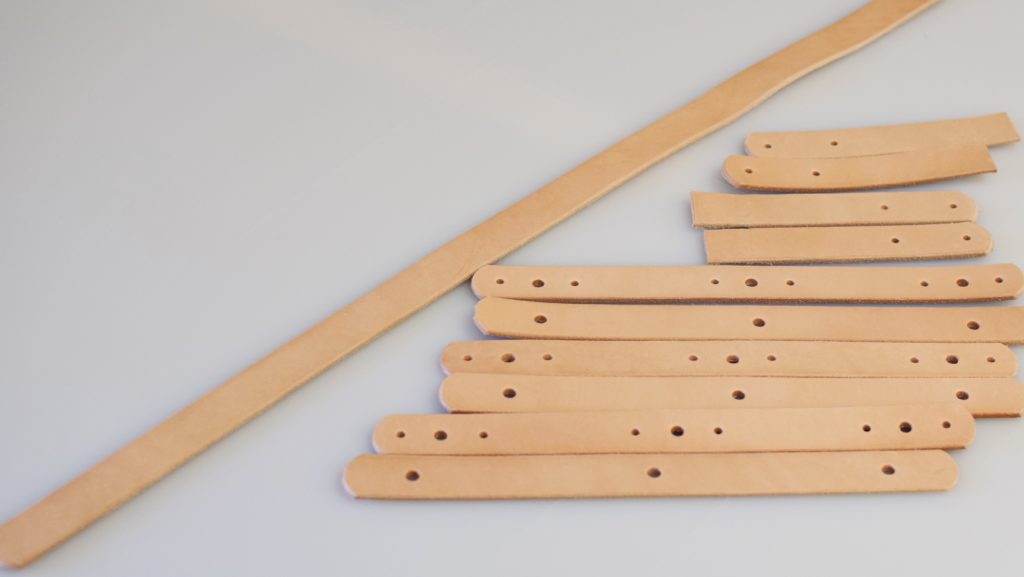
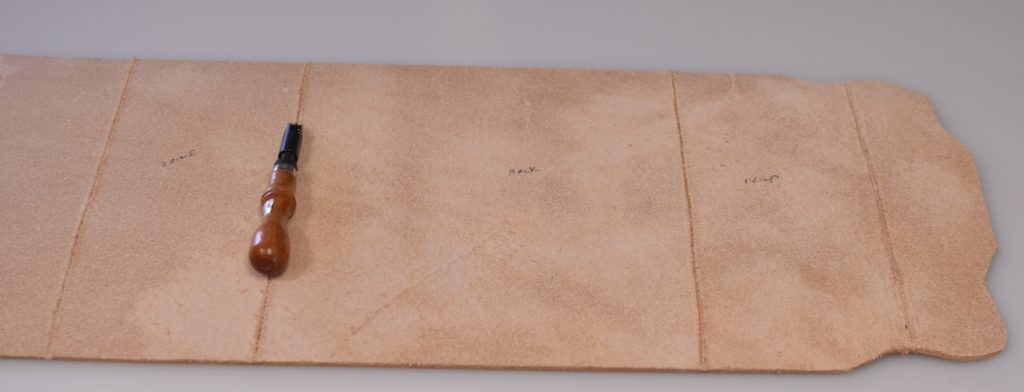
Once these basics have been assembled, I start by laying out the cover leather and cutting to size based on the particular Charge Book. This is followed by cutting the bag stiffener for the two covers, the lining material cut to fit the cover leather, and finally cutting and prepping the strap leather. The strap preparation includes marking and punching the required holes and “edging” the straps to give them a more rounded profile. Now the work on the exterior cover begins. First the sections are laid out on the back of the leather and grooves are gouged into the leather at the fold lines for the binder. The back is then taped off in order prevent it stretching through the rest of the process. The front of the leather is then “cased,” i.e., water is applied and allowed to soak into the leather. Once the water has had a chance to soak into the leather fibers, the surface is burnished to compress the fibers and prepare the surface for what is to come. Once the burnishing process is completed, the stitch-line and borders for the rope are marked on the exterior using the wing dividers. A grooving tool is used to make a channel for the thread to sit in when the binder is later sewn together. The design elements (Chief’s Anchor, Coast Guard Emblem, Rating Badge, etc) are then traced onto the leather using tracing film and a stylus.
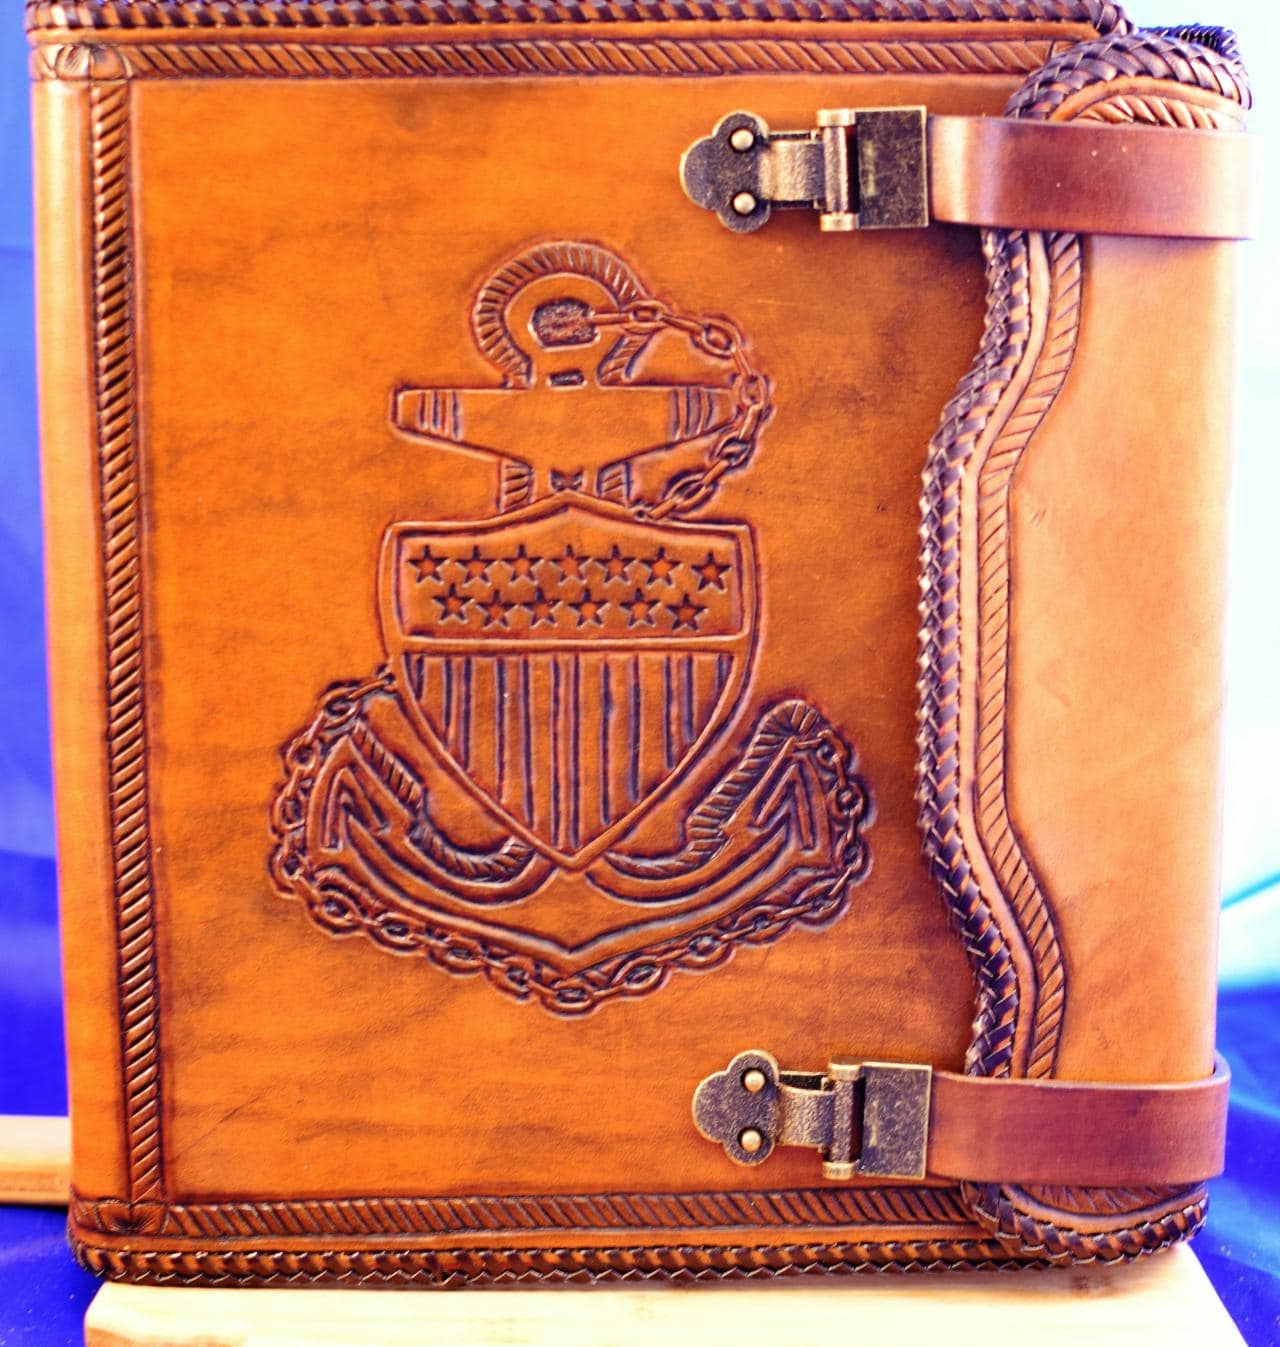
Once the design has been transferred to the leather, it is cut out using a swivel knife and it is time to start tooling the design. In the picture to the left, the bevelers were used to “beat down” the leather along the edges of the Damage Control rating bade, and the modeling ball was used to clean up the image. The rope border has also been laid out and begun. The shell and shell filler are used to demark corners and the rope has been started in each section to make sure it all goes in the proper direction. A similar process is followed to tool the entire design for the cover. Here’s the tooled front panel and border. The holes for the rivets to hold the posts in place and the straps for the closing mechanism have been punched. The next step for this cover, which is only a single color, is to apply some neatsfoot oil to recondition the leather, wait for the oil to soak in, then apply the color and sealer.
Here’s how the front cover looks with color and sealer applied. It’s now time to begin construction. First, water will be applied to the fold gouges. Once the water has soaked in a bit, a bone folder is used to compress the initial gouge and shape the fold. Once that is done, the lining will be glued into place and the holes will be punched through the lining. The edges are then cleaned up, and the Charge Book is either sewn together, or in this case, laced together. When the “full color” (generally blue, red, gold and silver), the process is a bit more involved. After the binder is tooled, the different colors are applied and left to dry. Once dry, neastsfoot oil is applied to recondition the leather and left to soak in overnight. A resist is then applied to all the areas that have had color added. Three coats of the resist are applied with plenty of drying time between coats. The resist prevents the color from being wiped out in the next step. Once the resisting process has been completed, the antique finish and sealer are applied, and the Charge Book is completed as previous described.
When the edges are sewn the finishing step for the binder is to burnish and seal the edges. The edges are sanded, then trimmed with an edger, smoothed with water, saddle soap and a wood burnisher on a drill press, dyed, then sealed with a mixture of paraffin and beeswax and the wood burnisher on the drill press. A final finish is sprayed on at this point and the Charge Book is ready to be shipped to its (hopefully) proud owner!

Basic Raw Materials
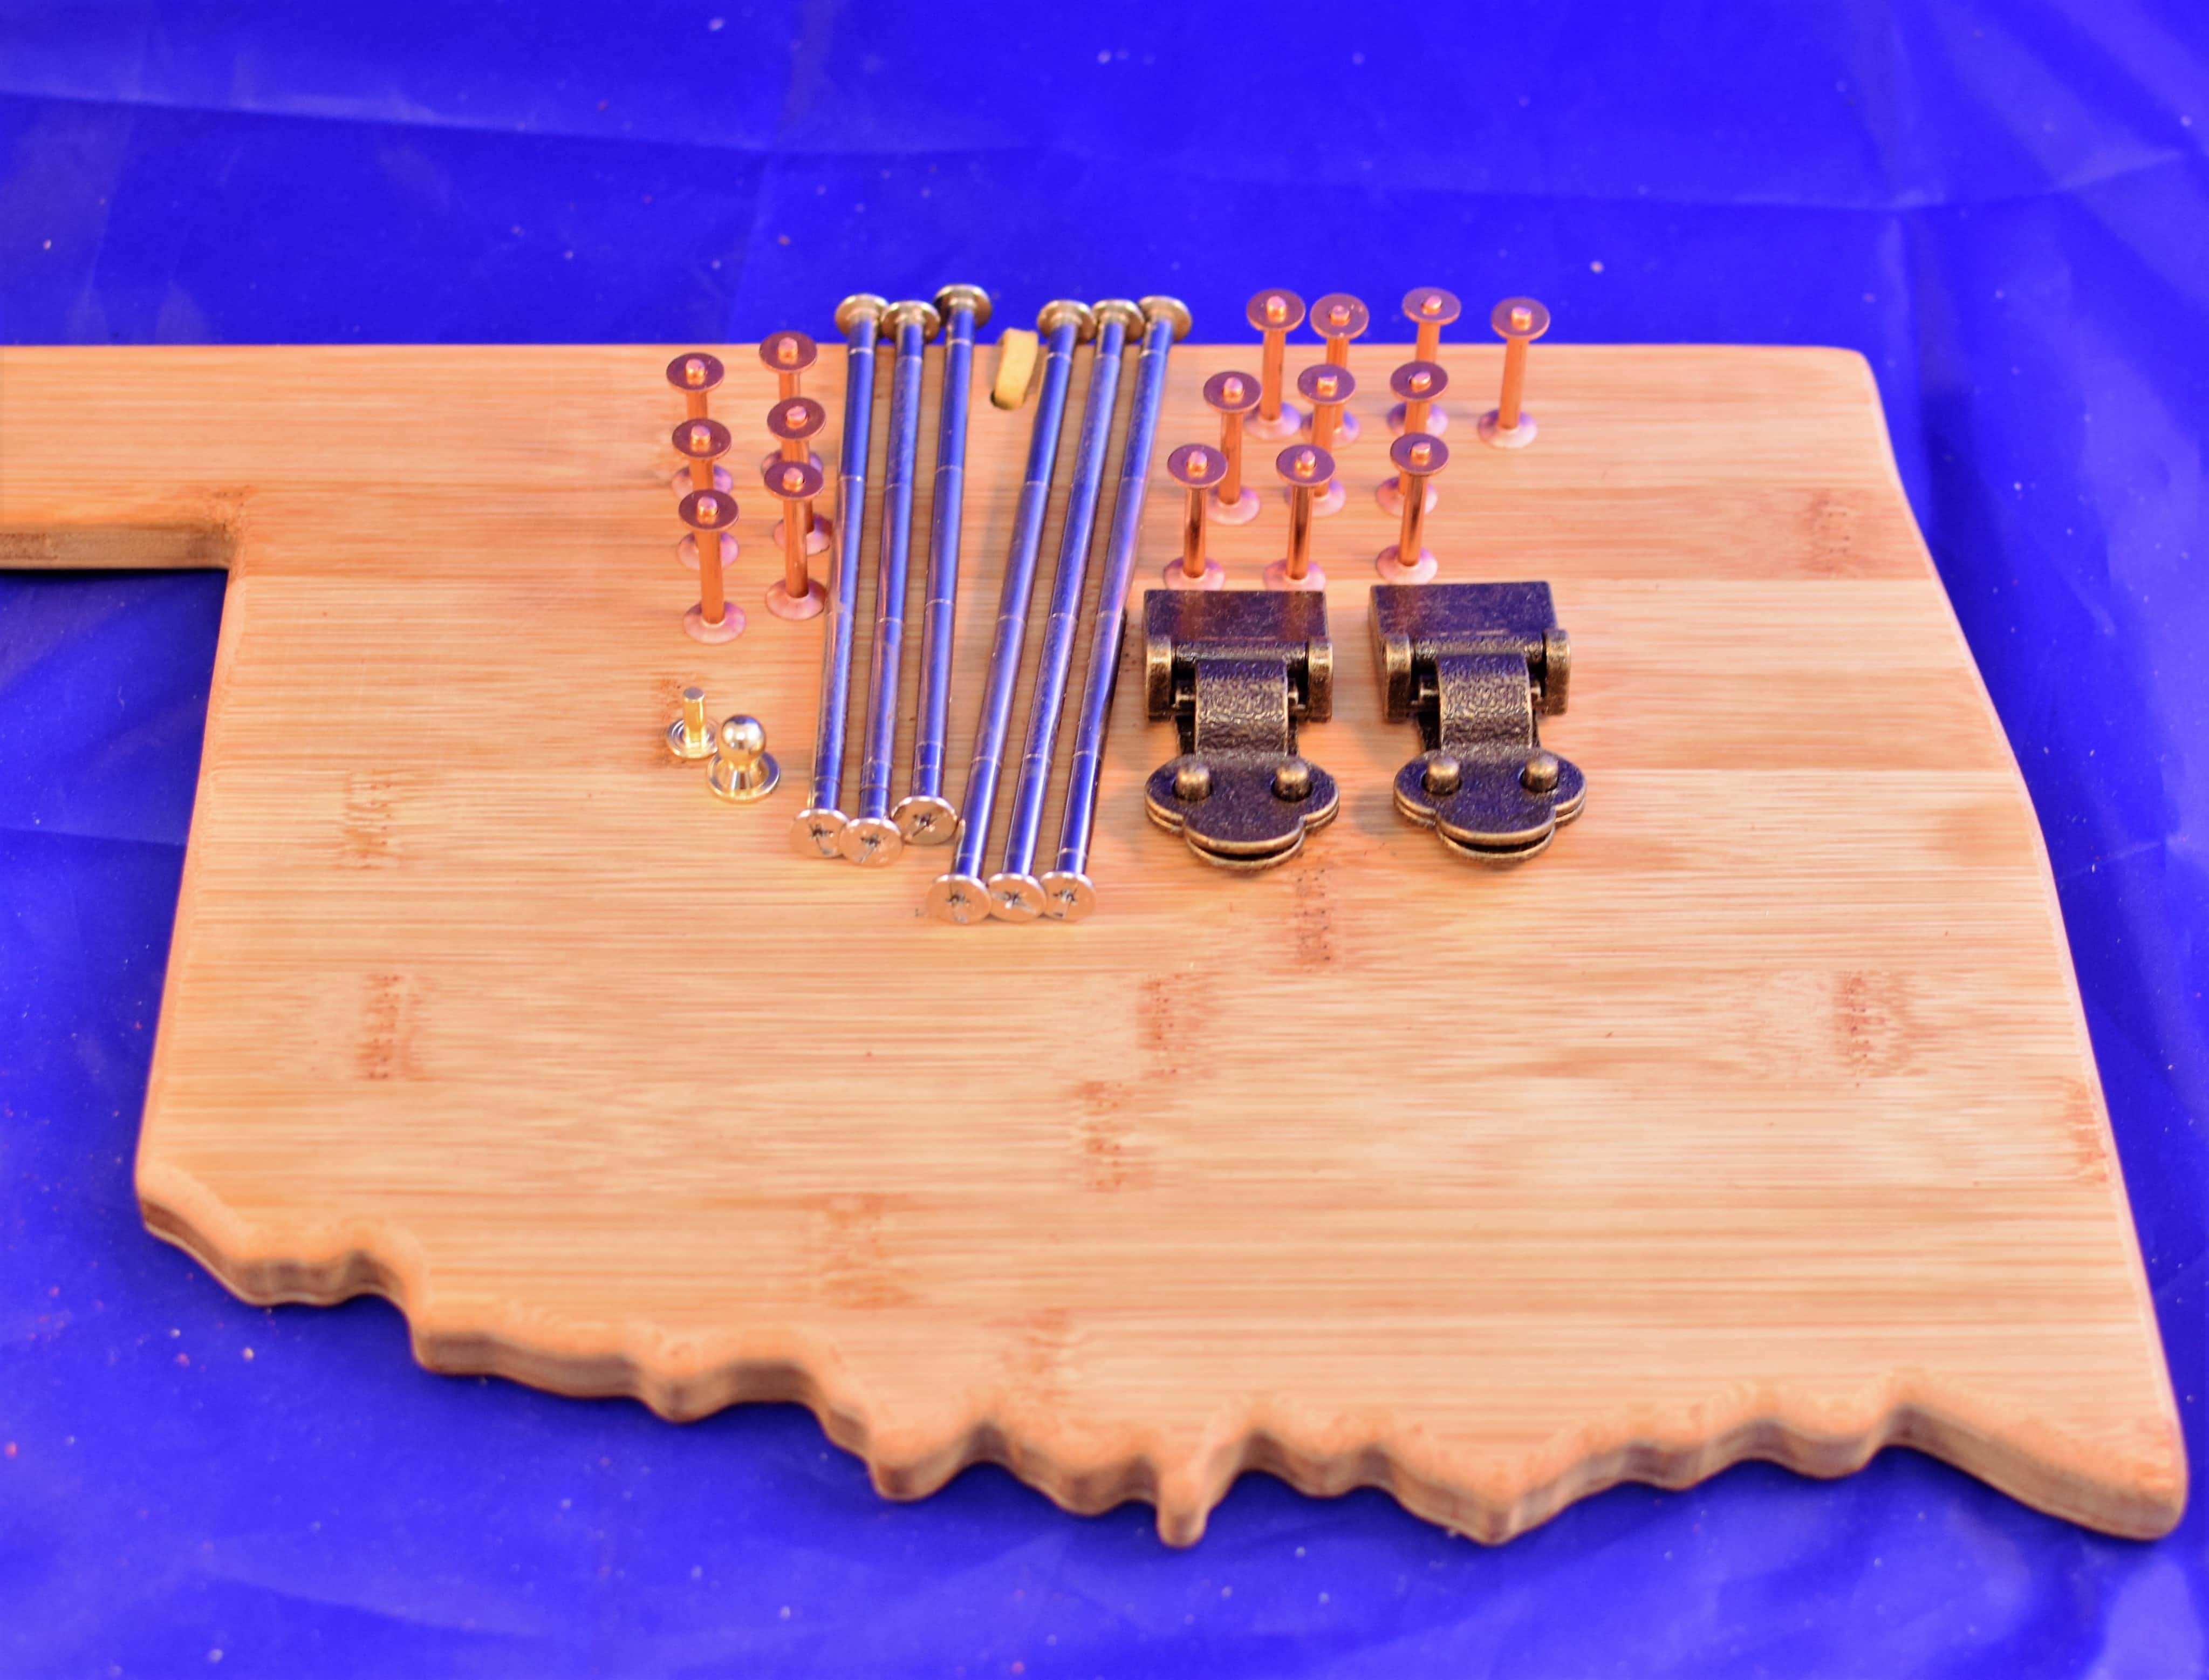
Basic Hardware
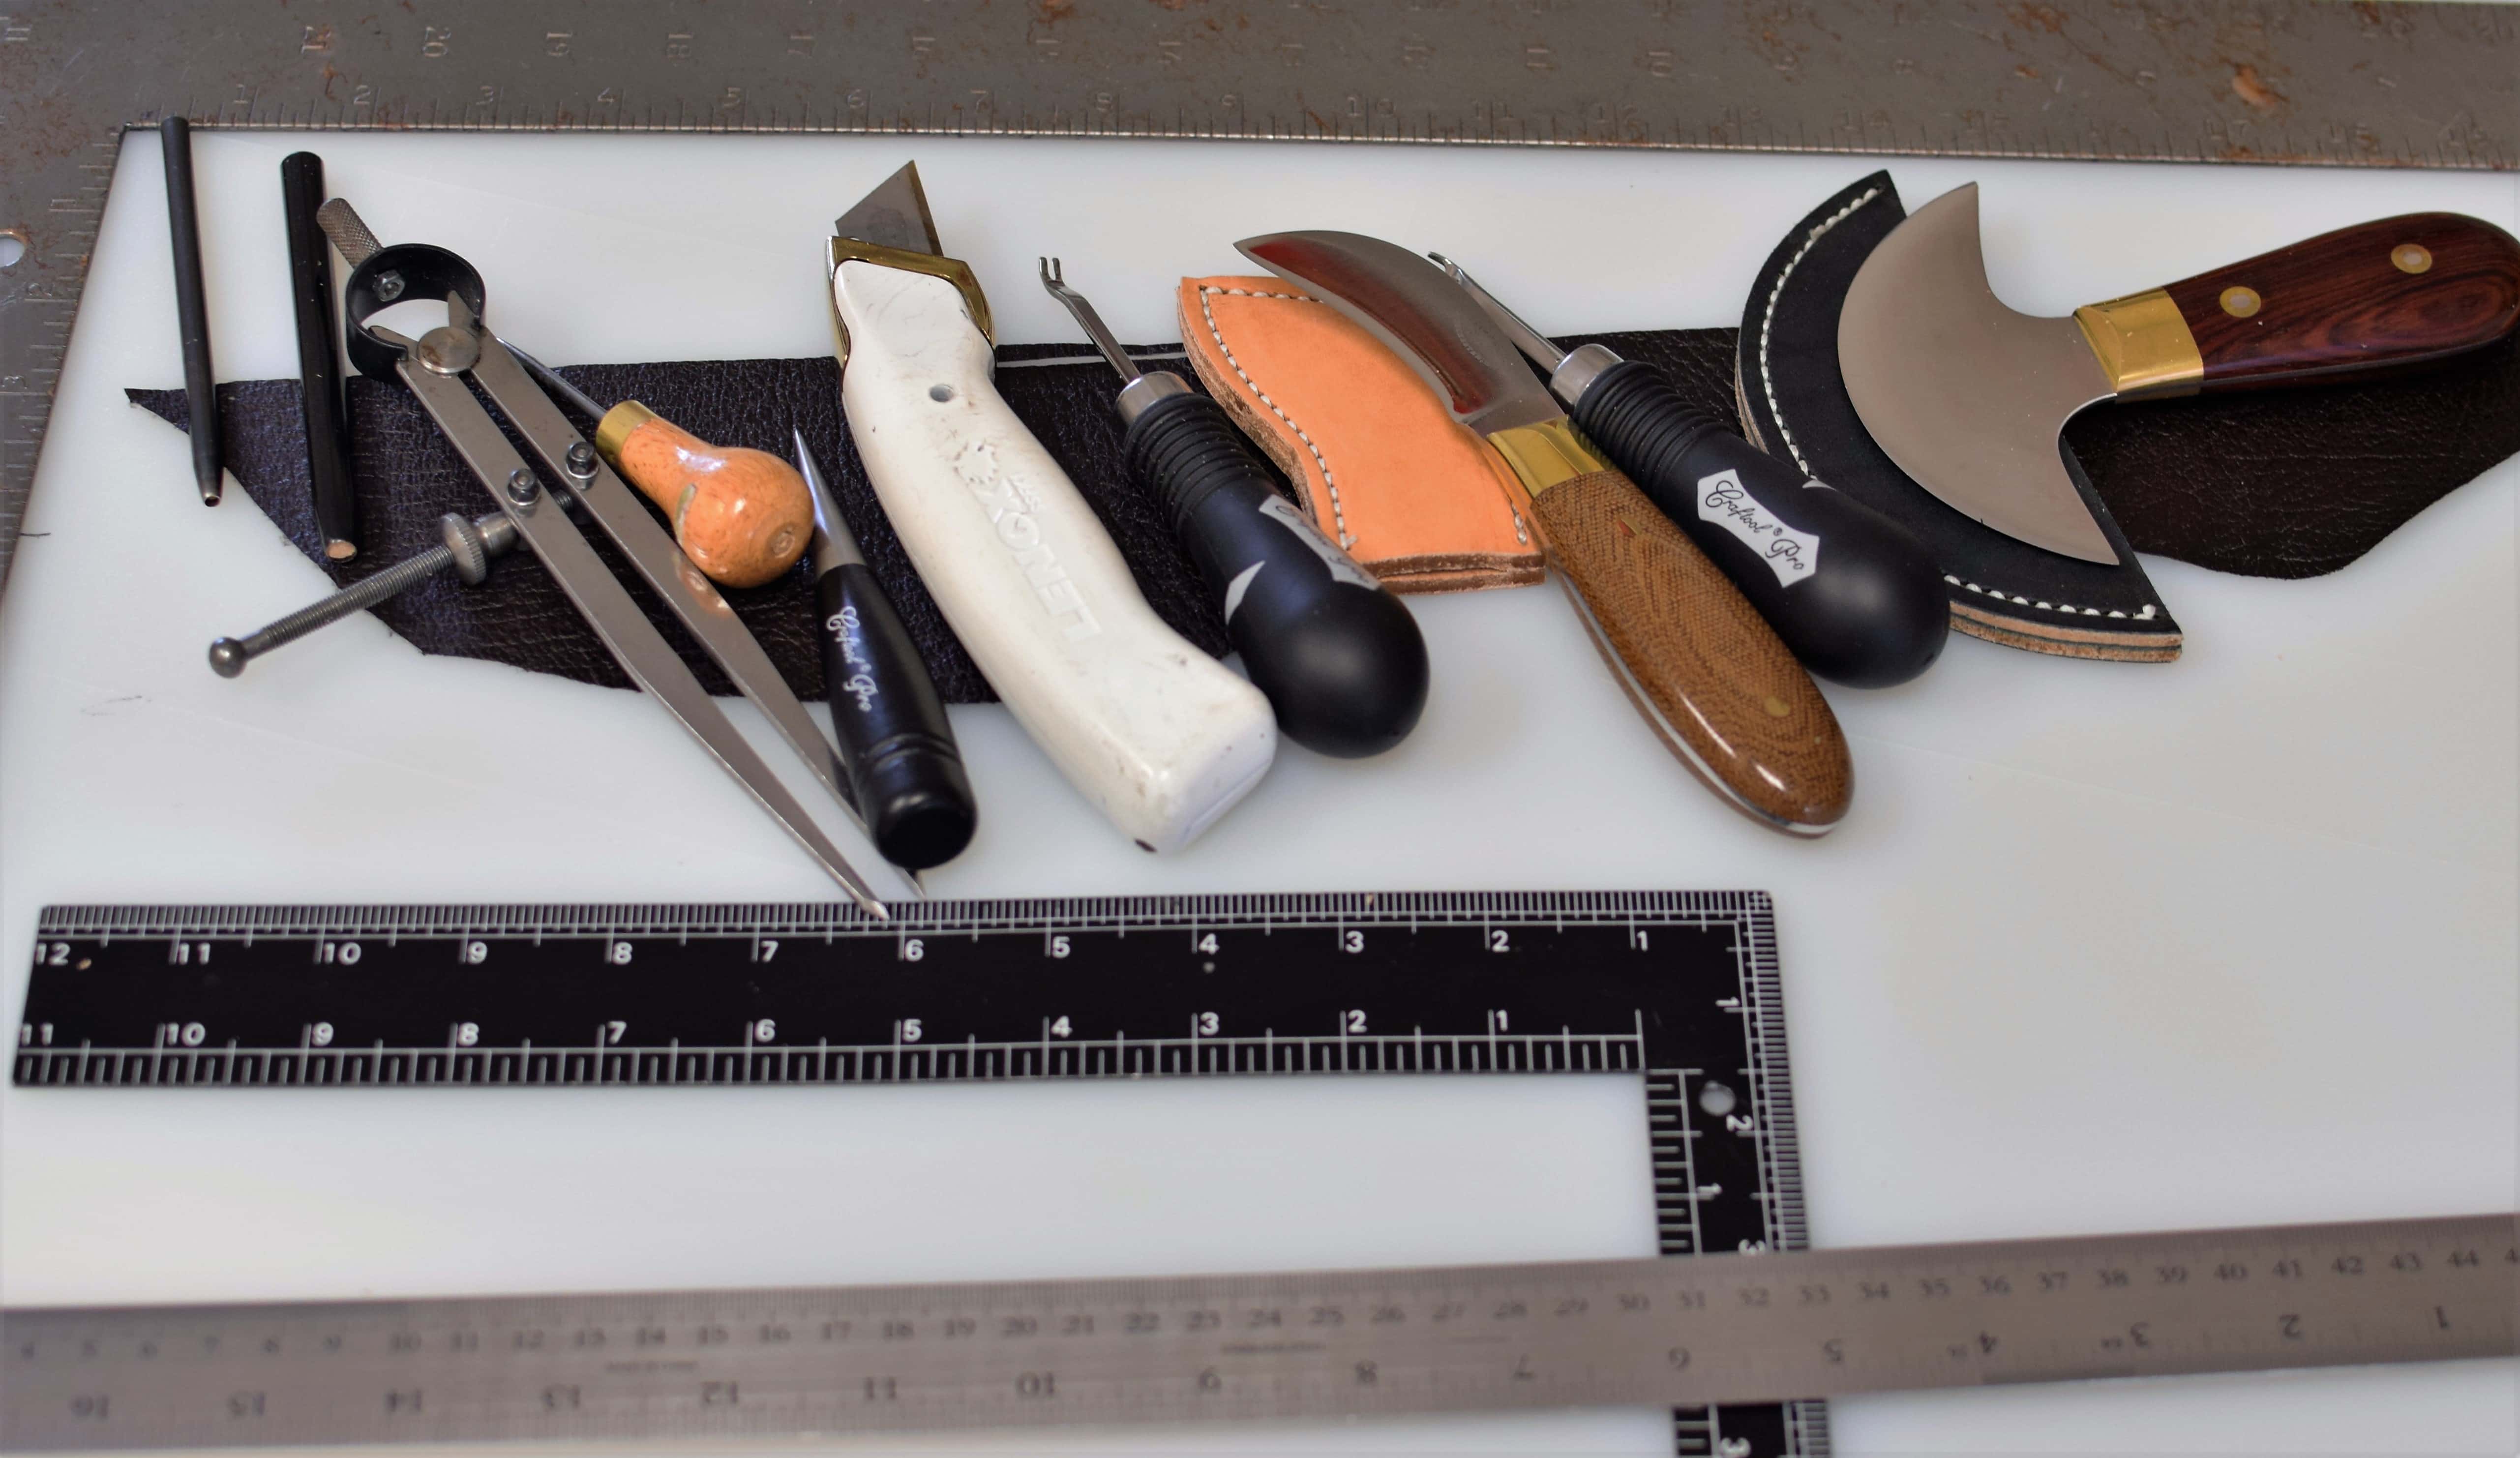
Some Tools Used in Initial Preparation
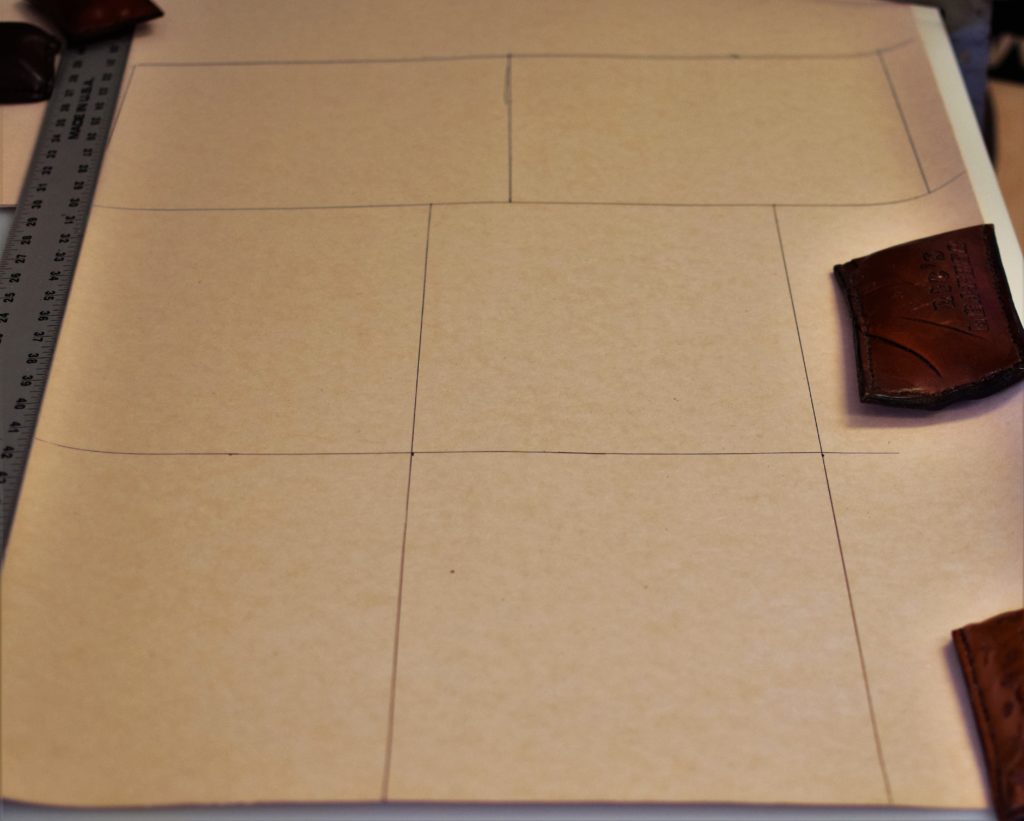
Cover Leather and Bag Stiffener Laid out to Cut
Straps Prepared & Back Grooves Cut
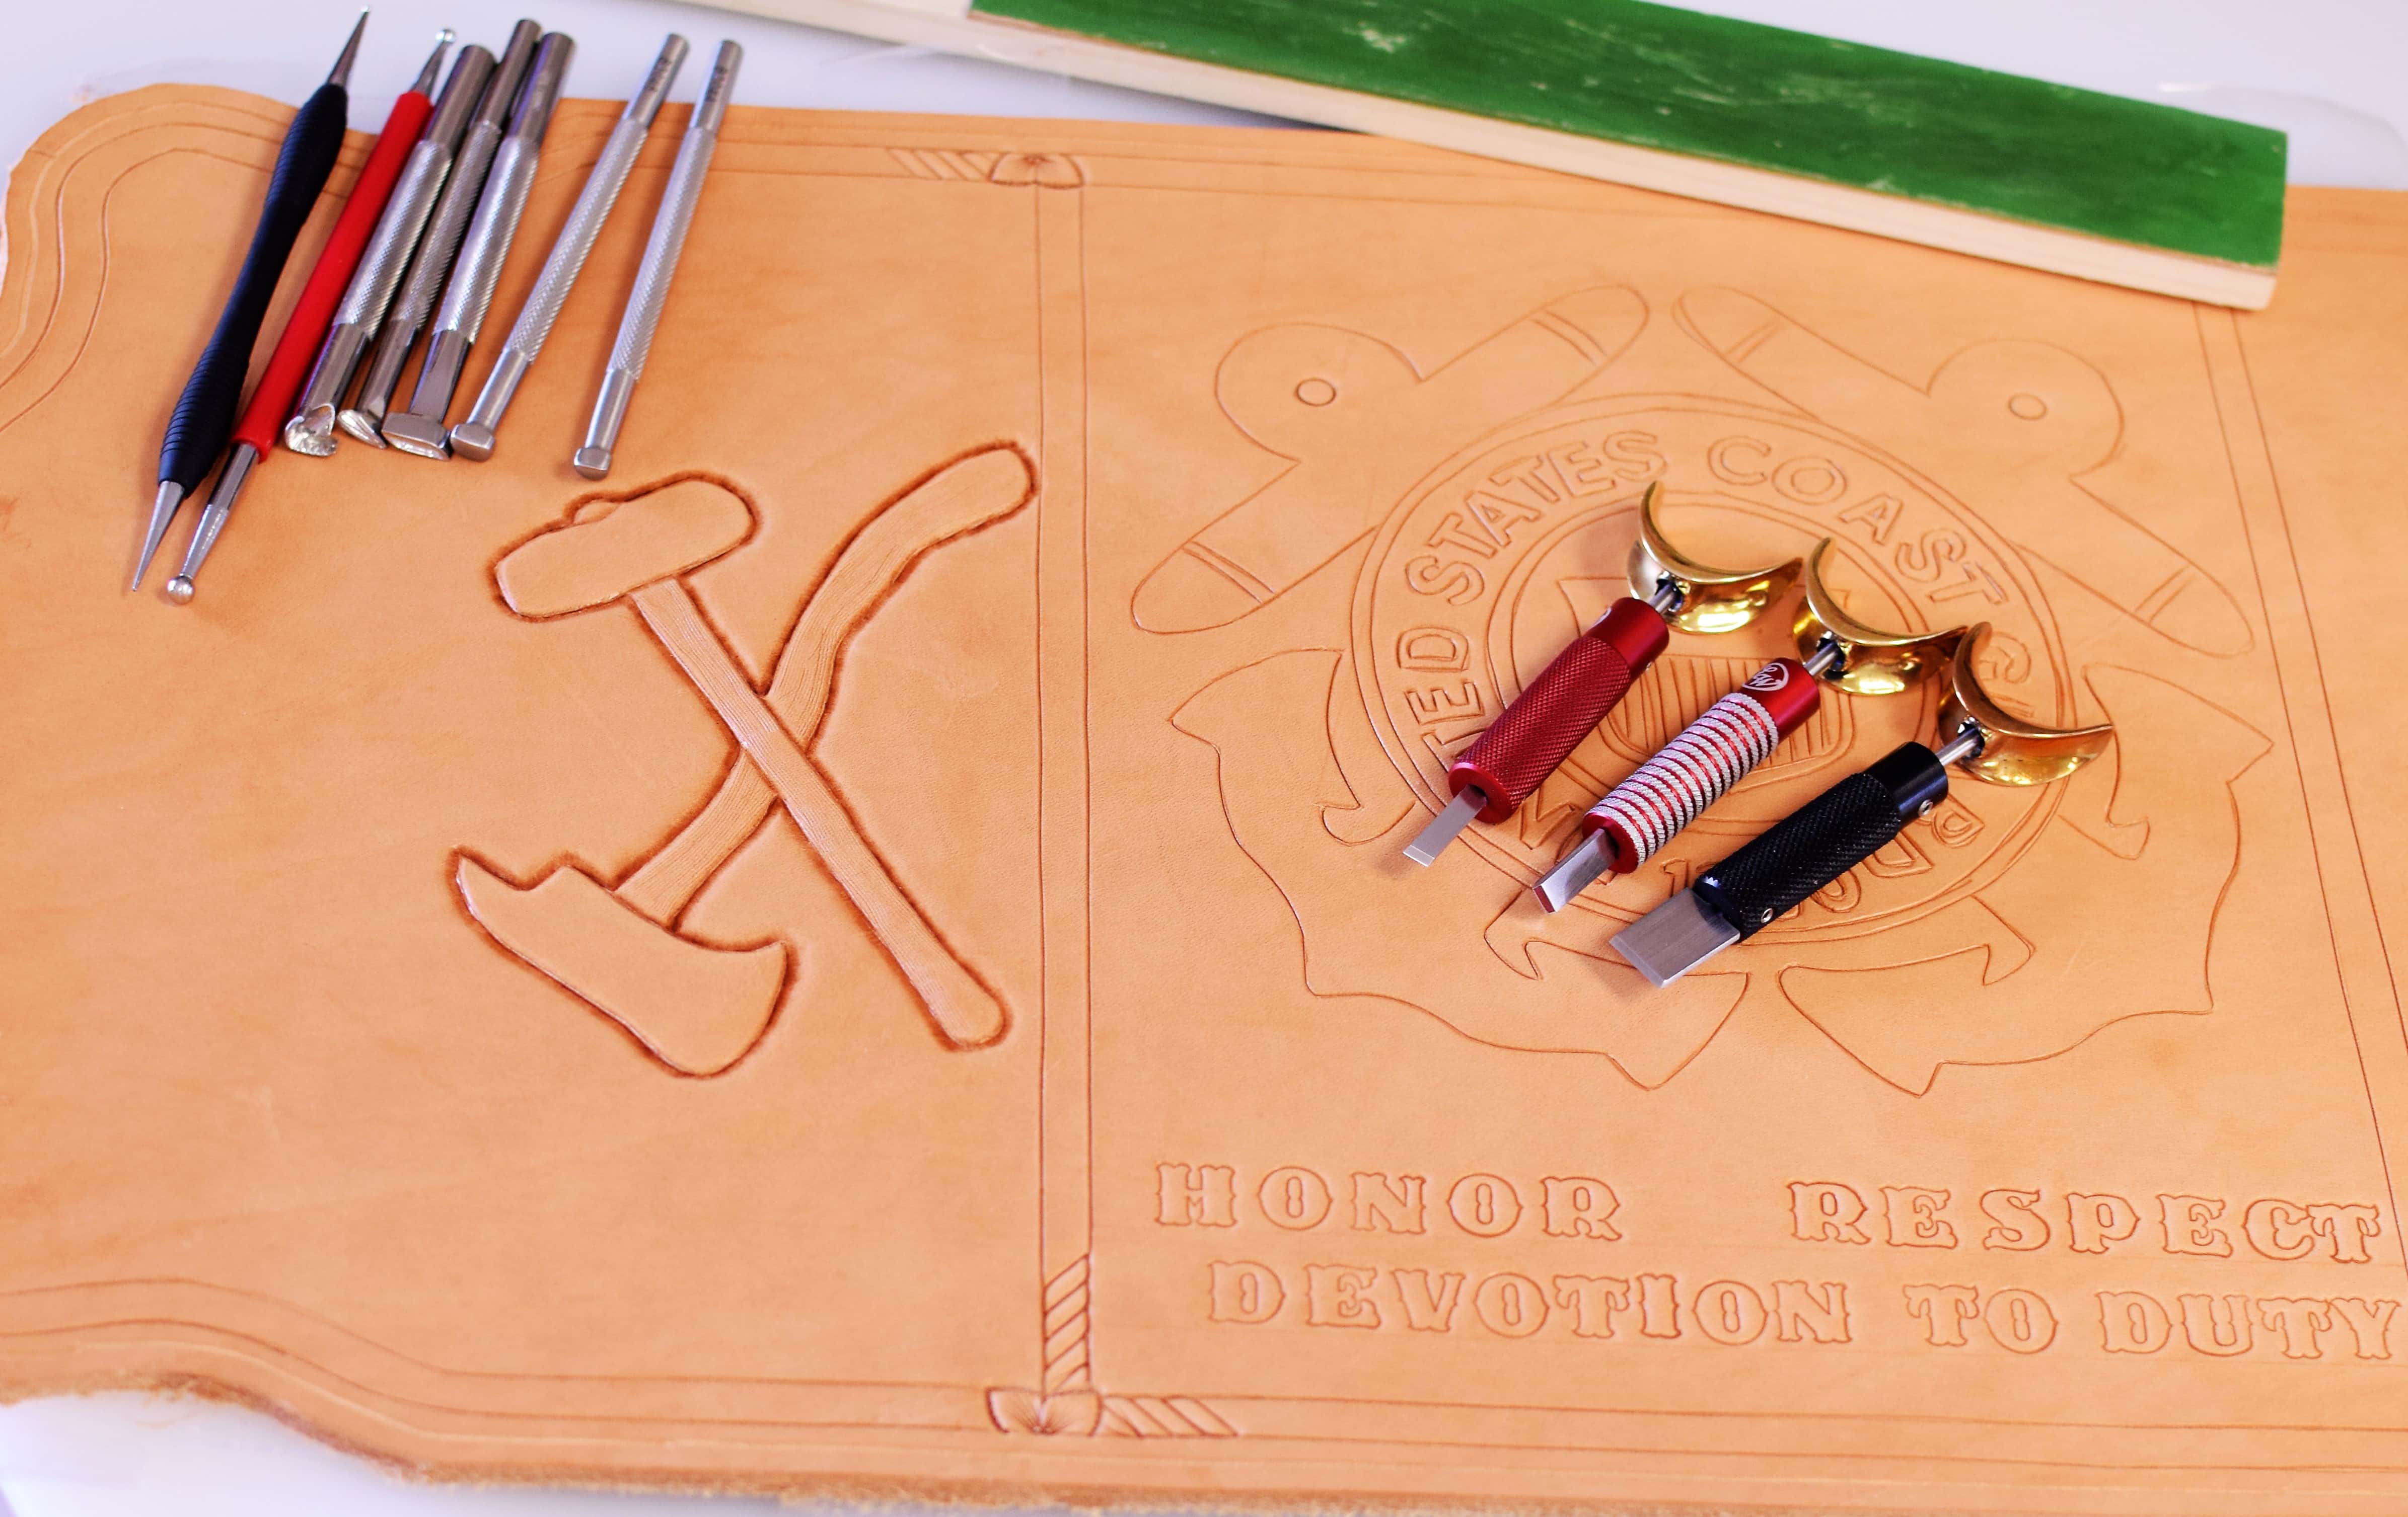
Design Elements Cut In and Partially Tooled
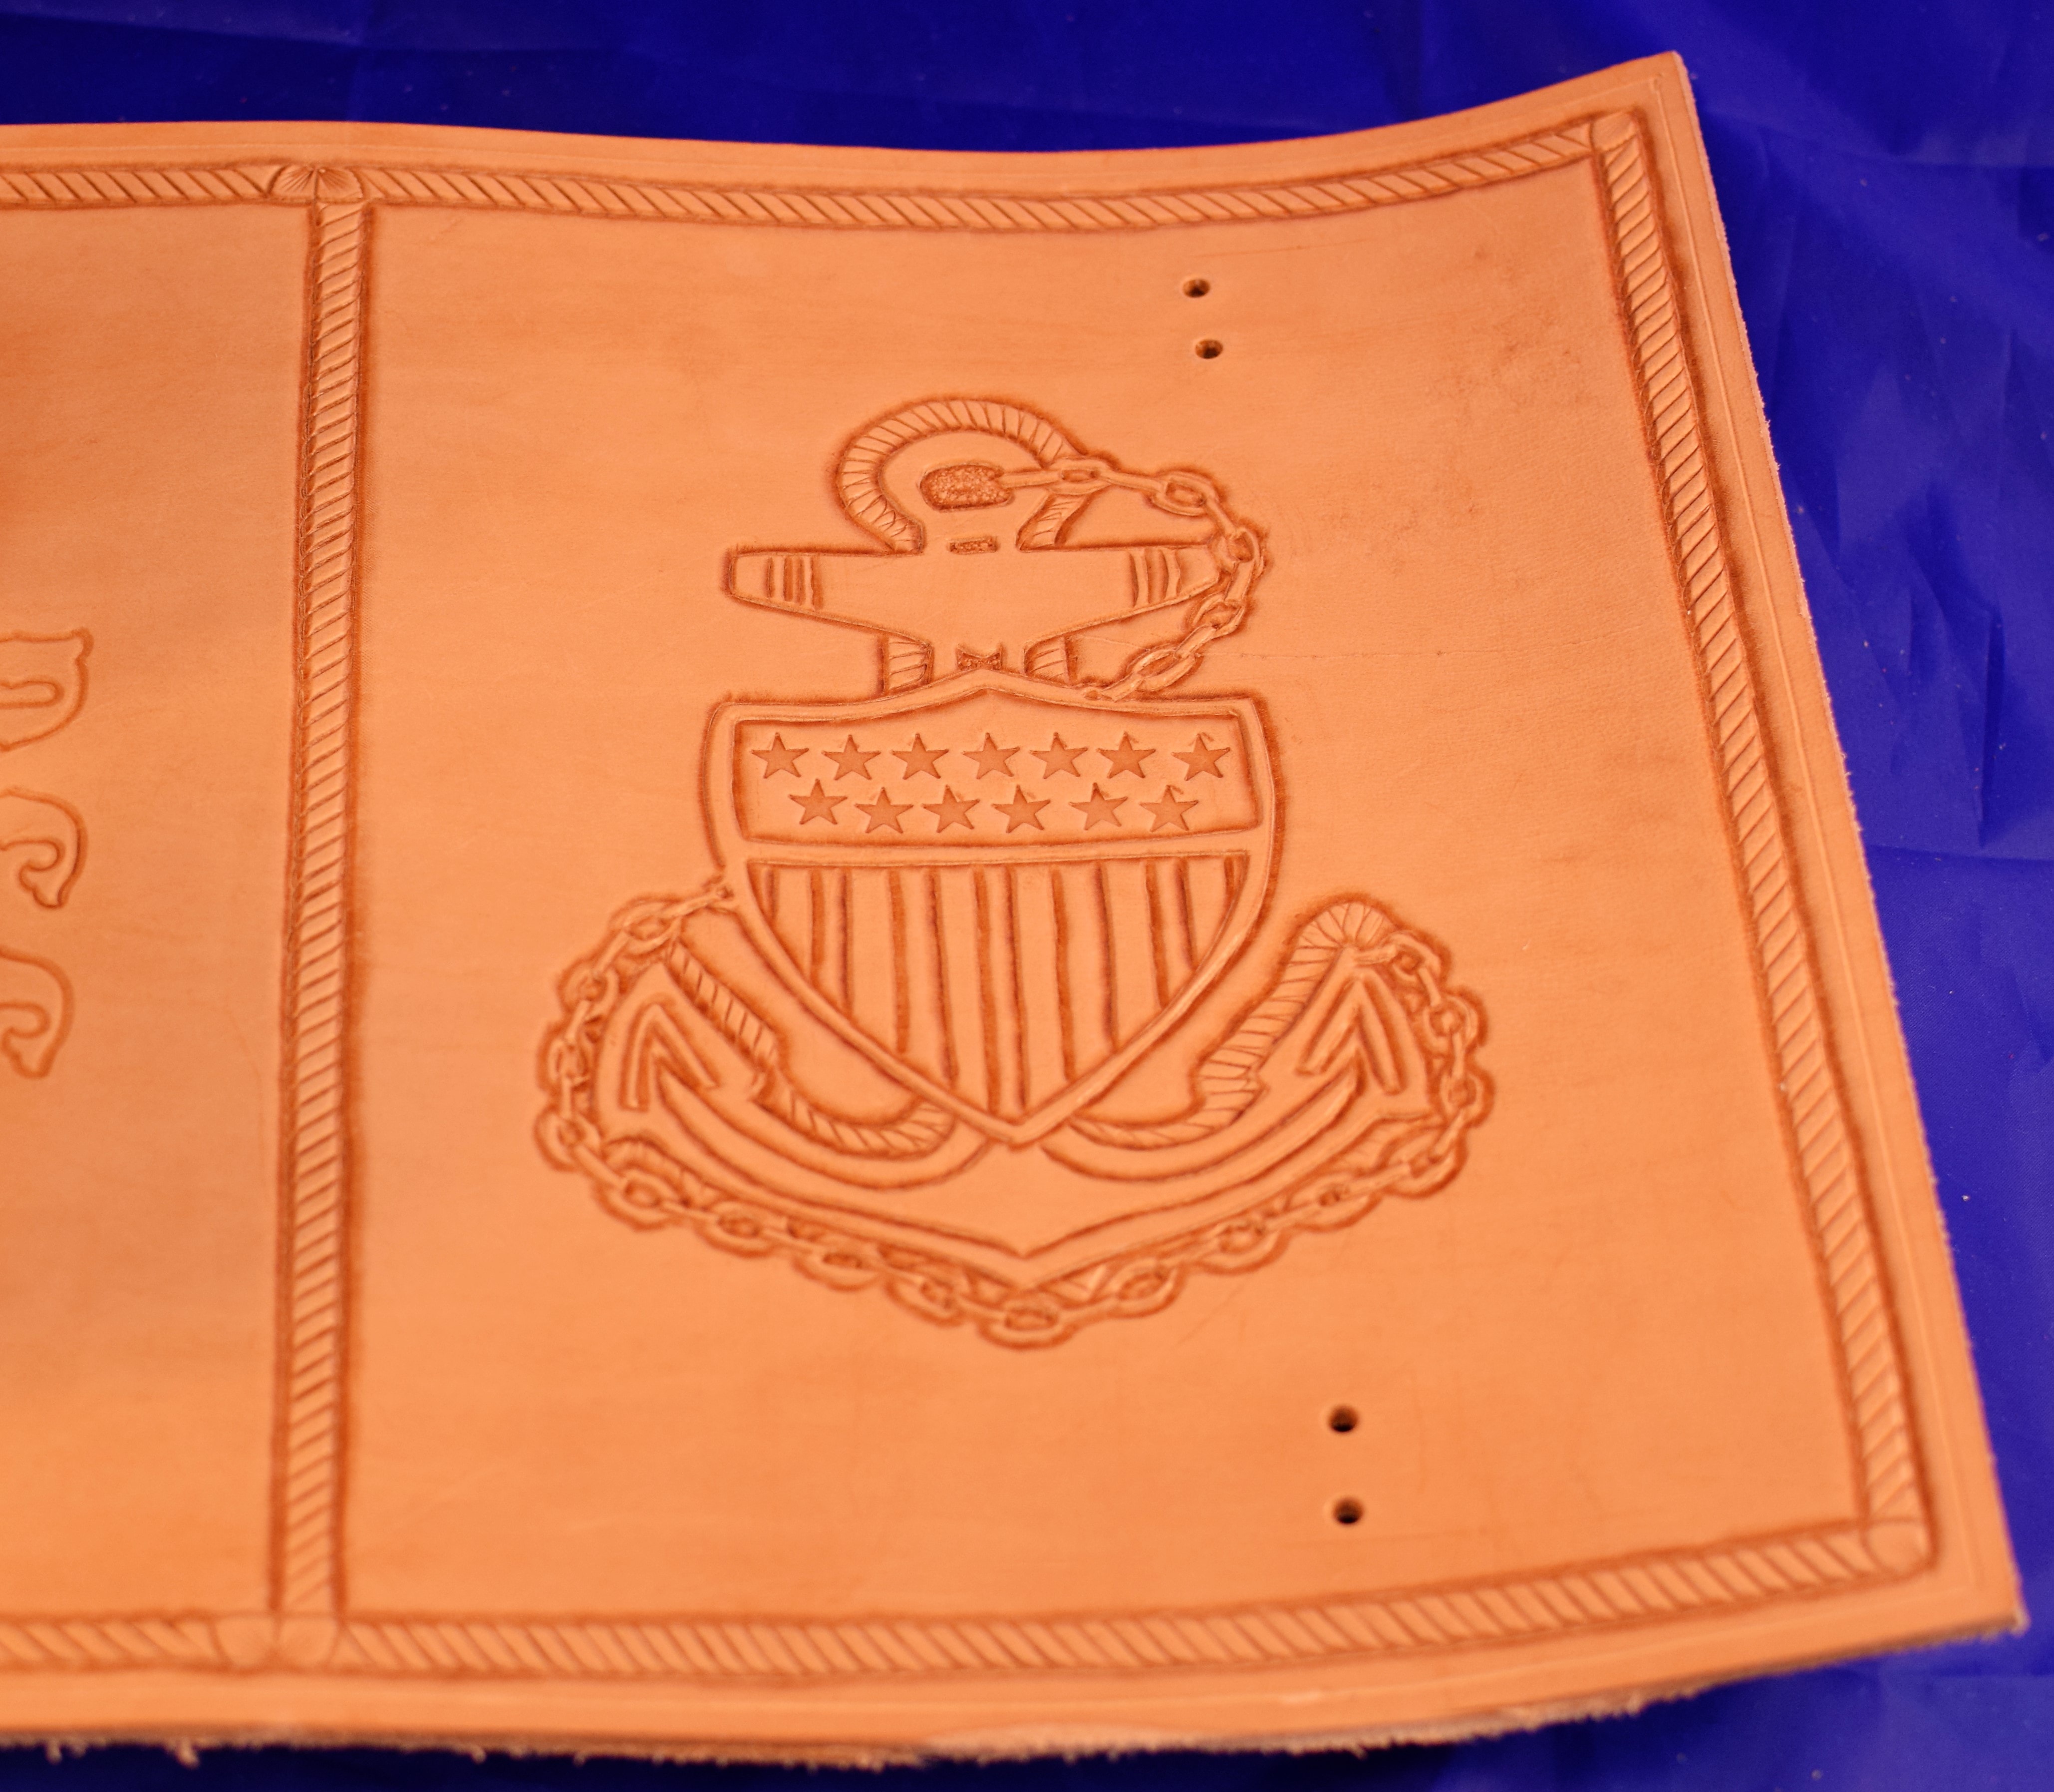
Tooled Cover
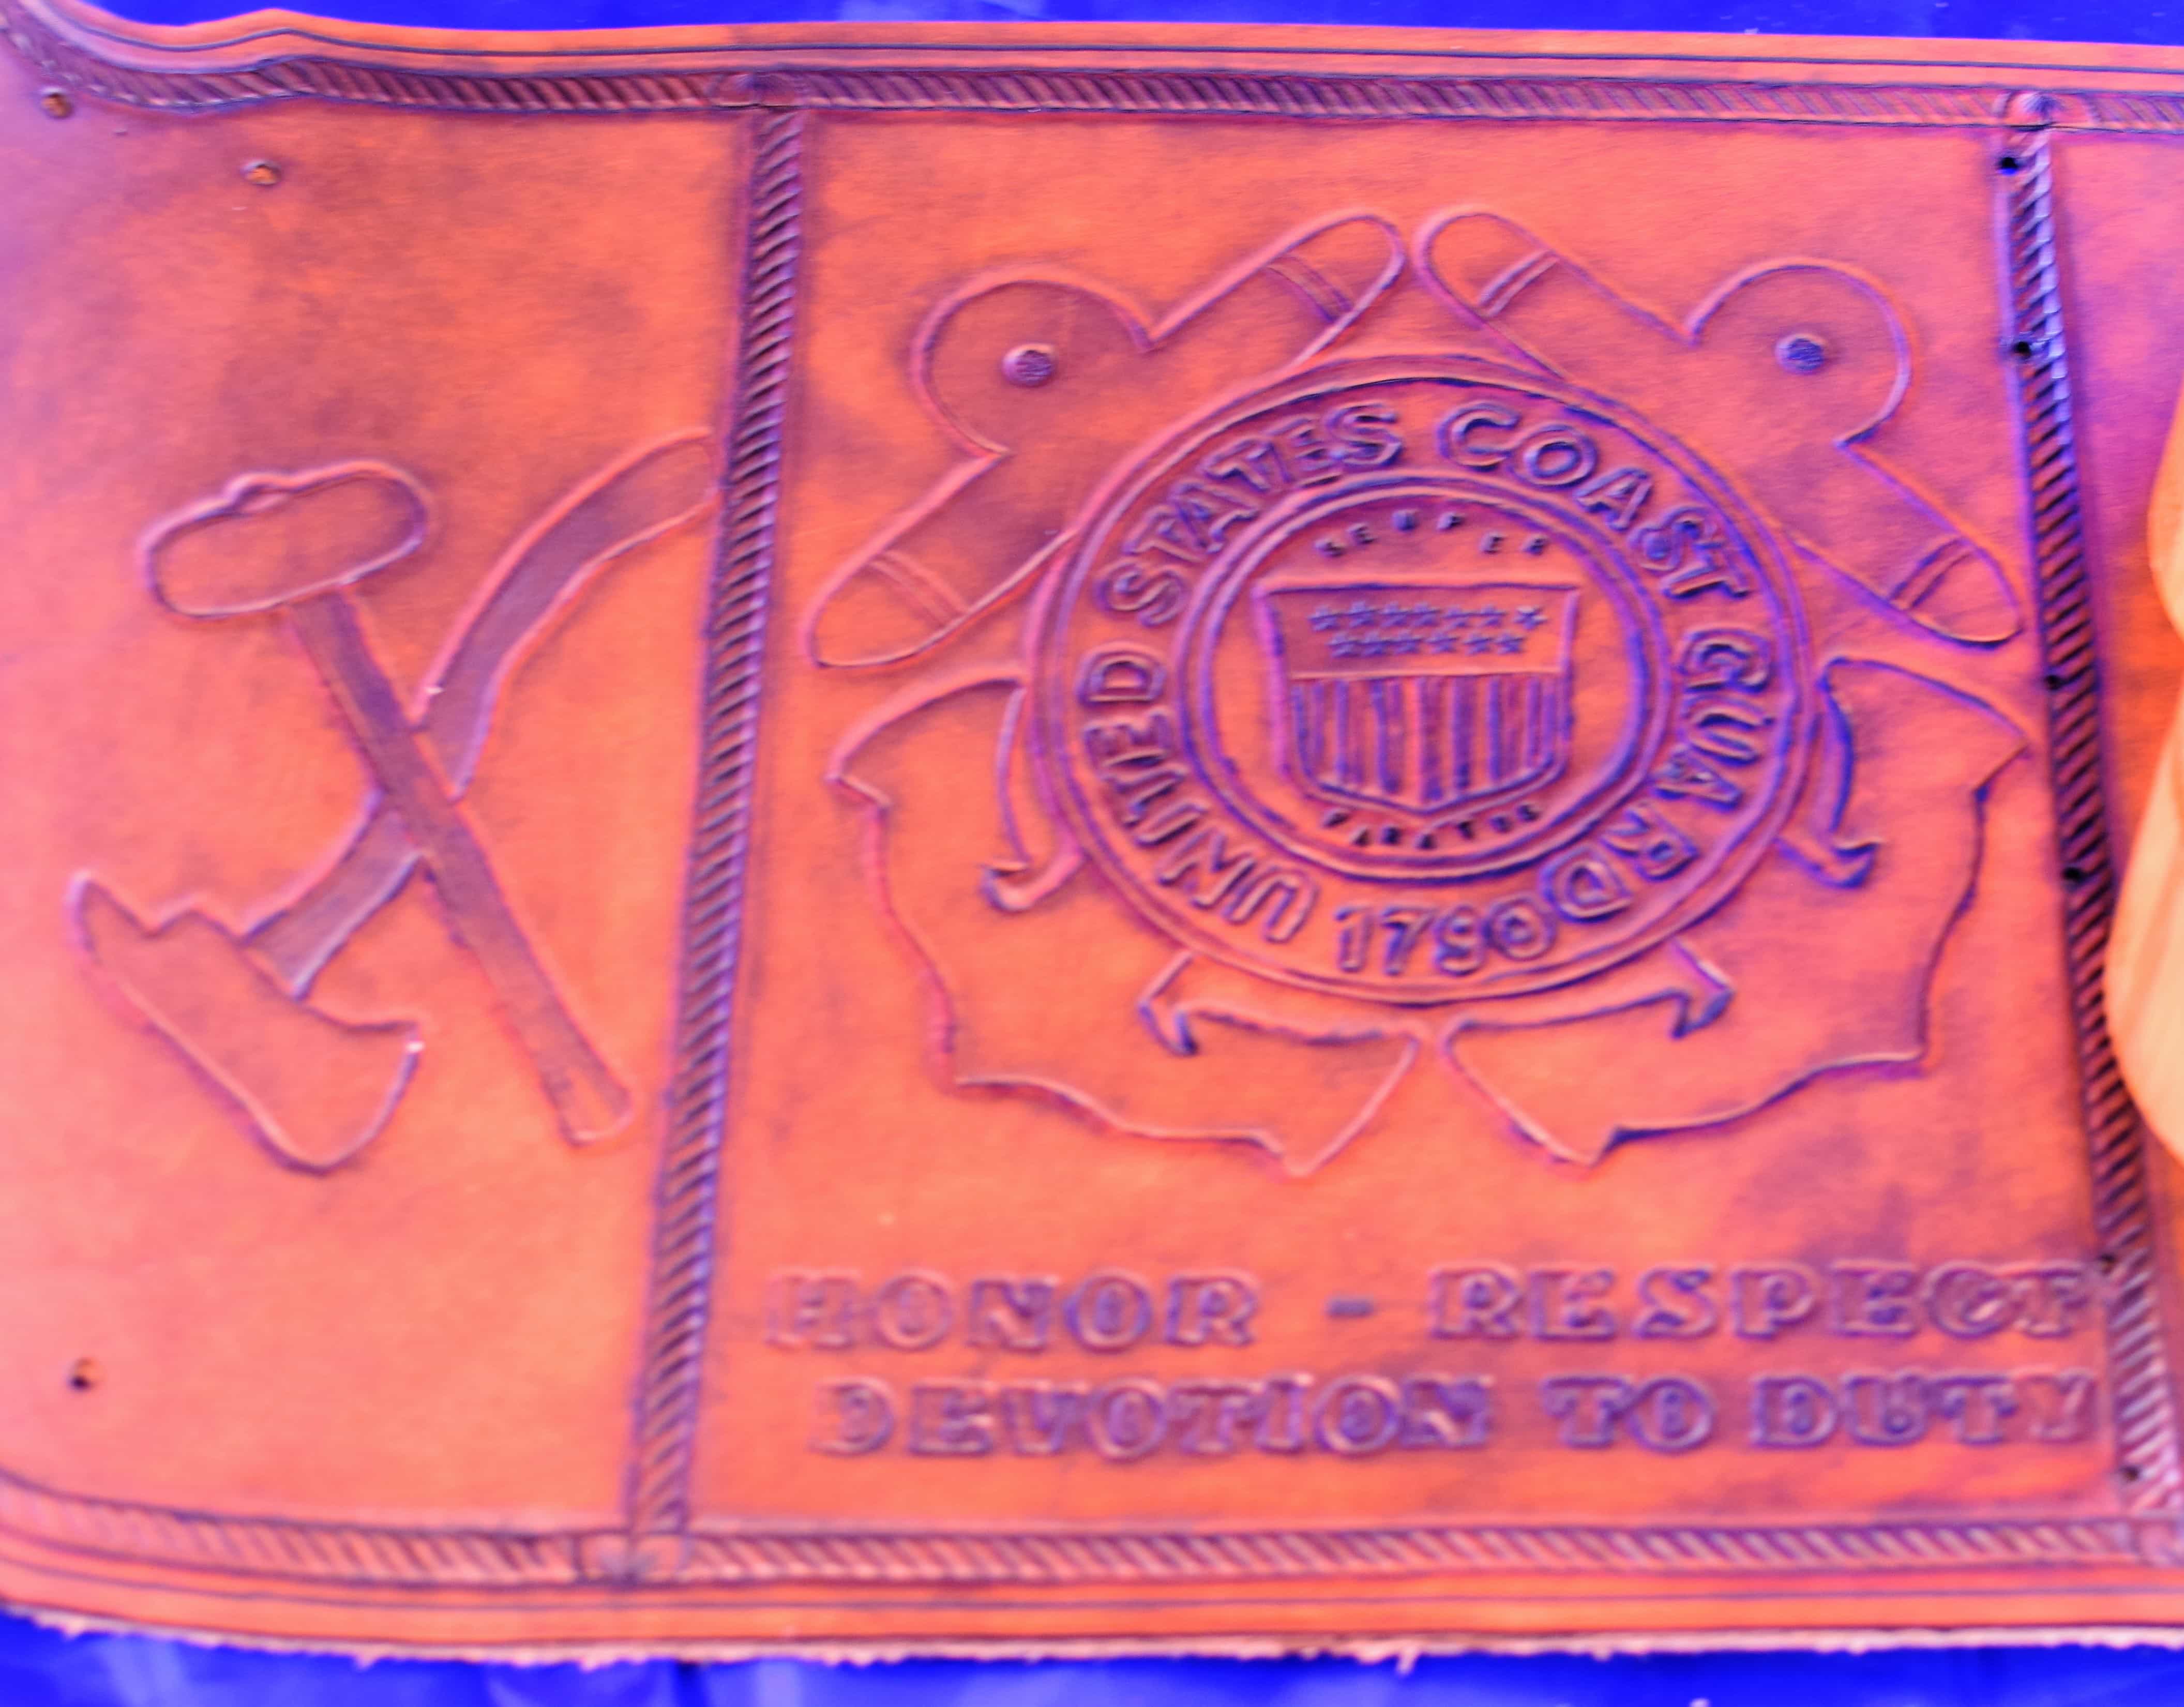
Tooled & Colored